Memaparkan catatan dengan label tutorial. Papar semua catatan

Rabu, 14 Januari 2015

Baby cocoon lagi 😊

Alhamdulillah... Baby cocoon ni antara produk yg paling banyak yg ditempah. Saya rasa sebab ianya comel kut dan kebanyakan customer  yg tempah ada yg ingat produk ni hanya  blh dpt dr oversea which is kena beli online dr sana tapi kat Malaysia ni pon banyak hehe cuma poduk kait ni tak banyak diberi pendedahan sebagaimana di luar negara. Ok stop dlu makcik. Jgn membebel kang habis entry ni hahaha.

Ok ni tempahan customer yg dibuat sebagaiman request. Due bulan Mac 2015 tp bagus lah tempah awal2 kan. Hehhee


Ladybird cocoon ni lah yg paling laris. Terhangat di pasara gitewww hahahaha. Ok kali ni saya buat pembaharuan. Saya letakkan sesungut di topi. Dulu xde sesungut hahaha. Lagi comel bila ada sesungut ni heheh.


Yg lagi satu ni customer nak shell stitch cocoon. Dah lama saya tak buat guna pattern shell nih. Makan masa dan jugak makan benang hahaha maksudnya guna benang yg banyak berbanding pattern yg biasa. Tapi cantik sebab nampak bentuk shell tu kan.

Berminat utk tempahan boleh pm saya di FB- marina hunny atau whatsapp /sms 0129584321 .

Khamis, 6 September 2012

Tutorial daun

Kali ni nak buat tutorial untuk daun pulak. Dulu main buat je kadang jadi kadang tak jadi. Ok, kita mula dengan terms yang digunakan adalah seperti berikut :-

- ch (chain)
- sc (single crochet)
- hdc (half double crochet)
- dc (double crochet)
- sl st (slip stitch)


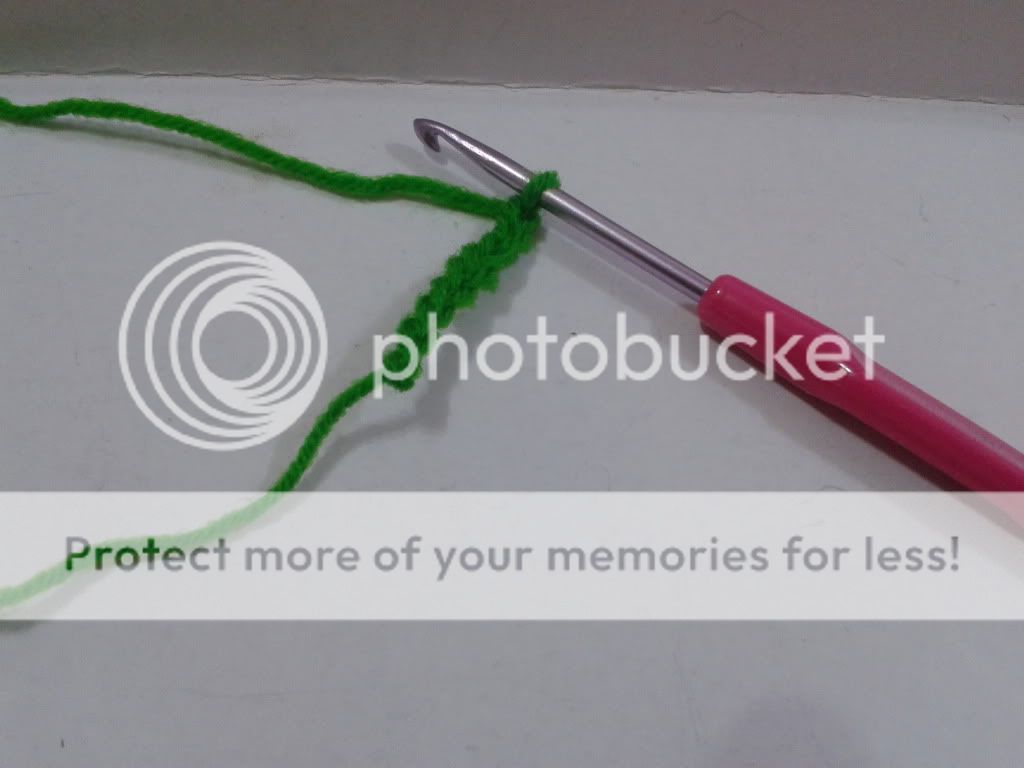
Start with chain 8.


1 sc in second ch from hook.


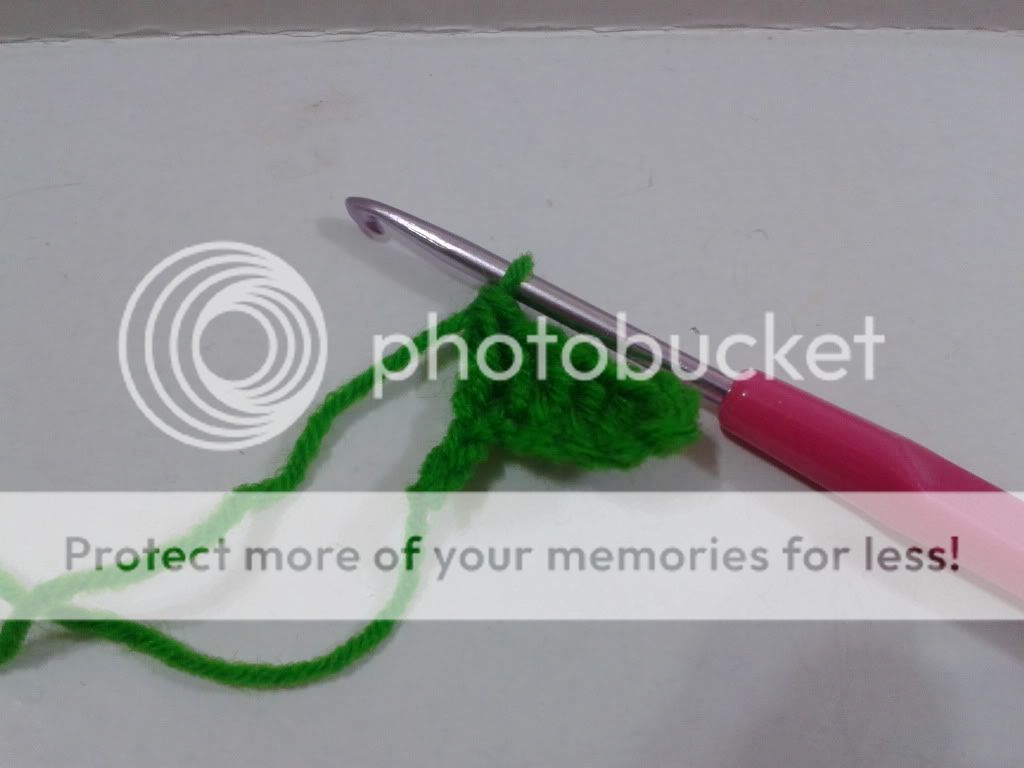
1 hdc into the next. 1 dc in the next.


2 dc in the next.


1 dc in the next. 


1 hdc in the next. 1 sc in the next. Chain 2.


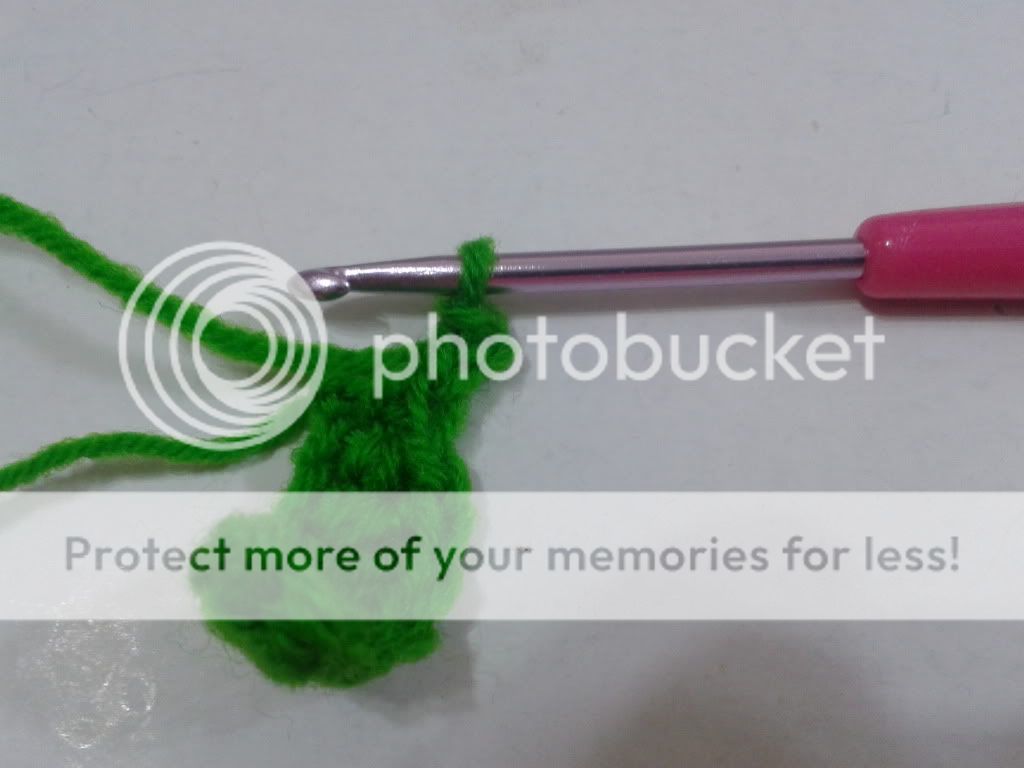
Sl st into the second chain from hook. This form a 'picot point'.


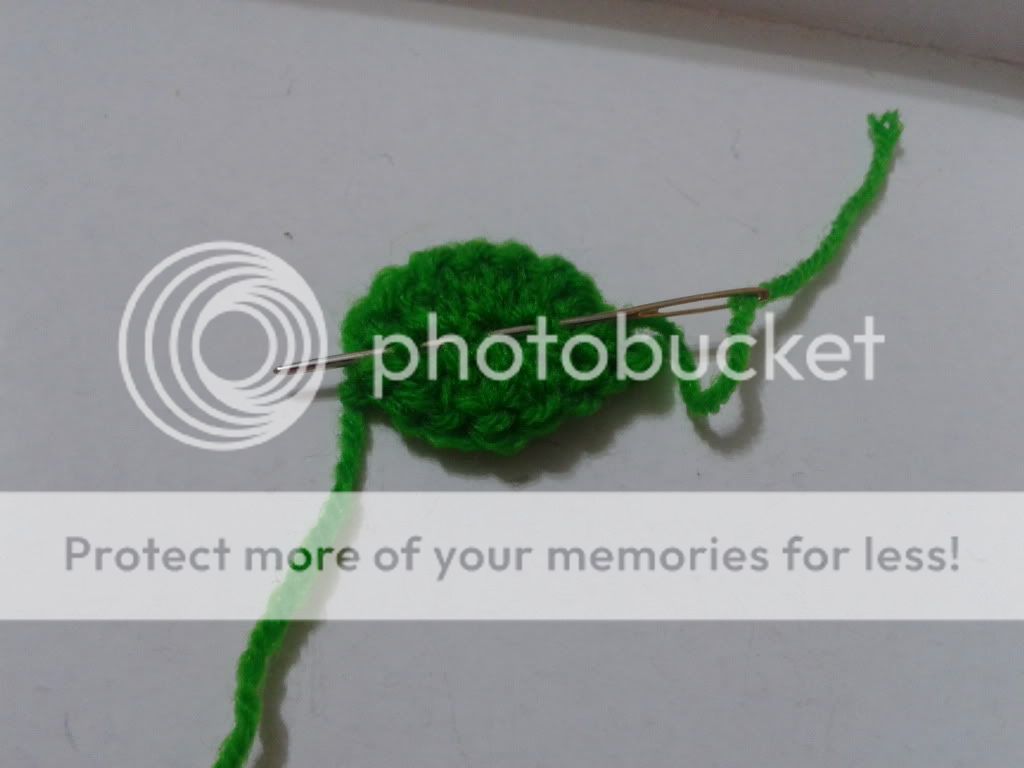
Continue working 1 sc, 1 hdc, 1 dc, 2 dc in the same st, 1 dc, 1 hdc, 1 sc. Sl sticth and fasten off. Dont forget to leave enough yarn tail to sew.


Ok, dah siap. Comel kan?

Pattern asal daun ni juga dari Attic24.

Note : Saya buat tutorial ini untuk ingatan saya, bukan berniat mahu copy paste dari blog asal tapi utuk kemudahan saya di kemudian hari. Terima kasih.

Rabu, 5 September 2012

Tutorial-mini rose

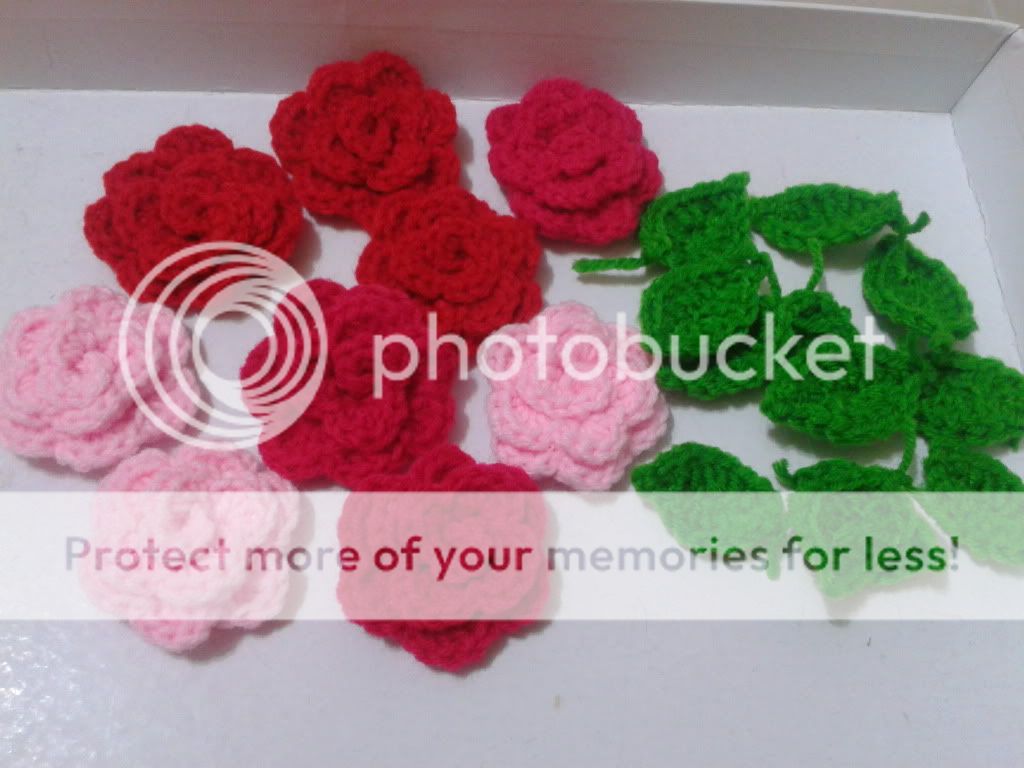
Gambar dah lama ambik tapi mood nak buat tutorial xdok haahaha camne tu. Bukan xde mood, malas sebenanrnya yang lebih hahahaha. Bunga rose ni pattern asal dari blog Attic24. Dia guna UK crochet terms. Kita kan guna US punya so tutorial ni adalah US crochet terms.

Macam biasa tutorial adalah dalam English. Terms yang digunakan adalah :-

- ch (chain)
- sc (single crochet)
- dc (double crochet)
- hdc (half double crochet)
- sl st (slip stitch)


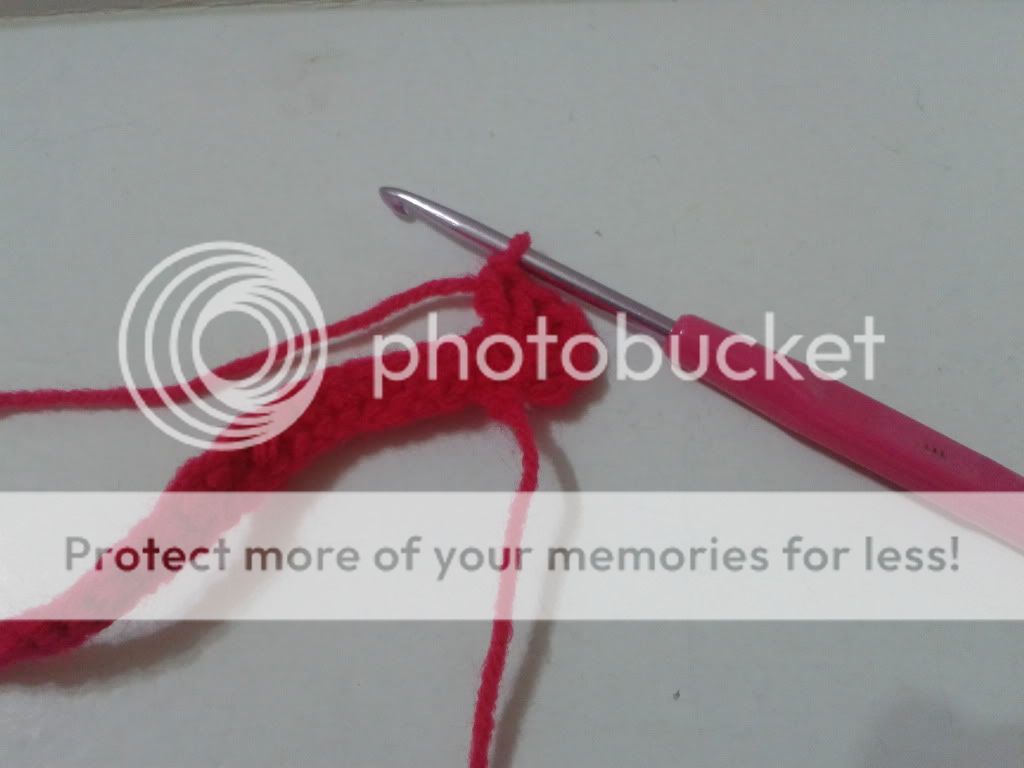
Start with 26 ch. Sc in 2nd ch from hook, continue working a row of sc. Turn.


Work 5 dc in second chain from hook ( 5dc in the same stitch). Slip stitch to the next stitch. This is the first large petal.


Crochet another 4 large petals by repeat the above steps.

Refering to the above steps, make another 4 medium petals using the same steps above by replacing the dc with hdc.

Refering to the same steps, make another 3 small petals using the same steps above by replacing the hdc with sc.


You will have 5 big petals, 4 medium petals, 3 small petals. Total 12 curly petals.


Dont forget to leave about 20cm yarn tail to stitch.


Stitch to secure your rose and finish.


Ok siap sekuntum bunga rose. Next entry saya akan buat tutorial untuk daun pulak.

Pattern asal boleh lihat di Attic24


Selamat mencuba :D. Kalu tak paham boleh tinggal komen ye :D

Isnin, 2 April 2012

Tutorial pointed petal flower

Atau bahasa senang bunga bintang lah ye. Pattern ni terjumpa kat blog Raymond. Eh Raymond tu kucing rupenye hahaha. 


 Saya mulanya tak paham tutorial dia pastu try buat sendiri. Sama je jadi nye.


1. Chain 4, join to 1st chain to form a ring. Chain 2 (count as 1st half double crochet(hdc)).
2. 9 hdc into the ring, join with slip stitch to the 1st hdc.
3. Chain 2.
4. Make 1 hdc in the same stitch.


5. 1 double crochet (dc) into same stitch.
6. 1 treble crochet into the same stitch.
7. Chain 3.
8. Slip stitch to 1st chain (tengok arrow kat gambar 7, slip stitch kat situ), jadi la picot.


9.   After the picot, continue with treble crochet in the same stitch.
10. 1 double crochet in the same stitch.
11. 1 half double crochet in the same stitch.
12. Slip stitch to the next stich. Finish a petal. 
     

13. Continue step 3-12 for the next petal .
14. Make 4 petals more to complete a flower.
15. Finish.
16. Boleh tambah butang utk cantikkan lagi.

Update :
For the next petal, hdc into the next stitch, 1 dc, 1 treble crochet, picot, 1 treble crochet, 1 dc, 1 hdc, slip stitch to the next stich. Cont for the next petal .


Selamat mencuba. Sharing is caring.

Ahad, 4 Mac 2012

Mary Jane Baby Slippers

Saya dah 2 kali buat baby booties ni tapi still tak mahir lagi. Saya tak puas hati lah. Nak kena belajar lagi. Kali ni teringin nk buat mary jane booties ni.


yg makcik teresa punya. Nanti kita buat sampai jadi.

_________________________
I added cool smileys to this message... if you don't see them go to: http://s.exps.me

Isnin, 20 Februari 2012

Tutorial bekas telur

Ada sorang awek ni email saya. Nak tutorial bekas telur katanya. Dia nak yg saya reka sendri tu. Susah jg nk buat tutorial ni ye. Nini, harap paham ye tutorial ni dik. Kalu tak paham email akak lagi ye.


1)Chain 3
2)Join to 1st stitch to make a circle
3)Chain 3 (consider as a 1st double crochet) *
4) 2 double crochet (dc) in the circle *


5) Chain 1, continue 3 dc in the circle*
6) Chain 1, 3 dc in the circle, chain 1, continue 3 dc the circle, chain 1, continue 3 dc in 
    the circle, chain 1, join with the 1st dc. You will have 4 groups of 3 dc *
7) Chain 3
8) - (13 ~ repeat step 3-6.


14) Chain 3
15) 2 dc in the loop, 3dc in the loop, 3dc in the loop. Continue 3 dc in the loop until it 
     finish.
16)- 17) It will look like this.


18) Chain 5, slip stitch to the loop*
19) Repeat step 18 until finish a round.
20) Repeat until look like this.


21) Slip stitch
22) 4half double crochet (hdc) in the loop. Repat until finish.
23) Chain 33
24) Without cutting the yarn, pull the chain through the hdc loop until it meet the starting 
      chain.


25) Slip stitch to the 1st chain. 
26) Pull the chain.
27) Done !


Nini, harap faham ye, nak buat tutorial in bahasa susah skit sbb kita dh biasa dgn english punya istilah crochet kan, so kalu tak paham boleh tanya ye .

Sabtu, 14 Januari 2012

Crochet rose tutorial

Sepupuku yg comel Along request nak keronsang rose macam ni.


Tapi aku dah lupa step nya. Sib baik jumpa dalam youtube.

Part 1.


Part 2.

Part 3.

Okeh, nanti buat banyak2 bagi Along. Nak jual kat sekolah katanya. Banyak sambutan. Hehehhe

Ahad, 25 September 2011

New flower pattern

Hasil dari ajaran makcik Teresa. Tq to Makcik teresa kerana sudi buat tutorial ;)


Suka banget!

Video dari sini ye :)


Senang yo!

Tutorial- rose flower crochet

Ni video makcik teresa lagi. Utk pembelajaran saya. Sape2 nak buleh je ambik. Makcik tak reti lagi kait bunga rose nih. hehehe


Harap2 buleh ikut la ye. Makcik ni lambat sikit nk pick up..hahhaaa. Teringin sangat nk buat bunga rose tp berukband lambat tu yg maleh nak melangut dpn Youtube. Haisshh..